|
|
|
A couple years ago I fiddled with cutting display backs for some of my beater watches. You can find the web page here.
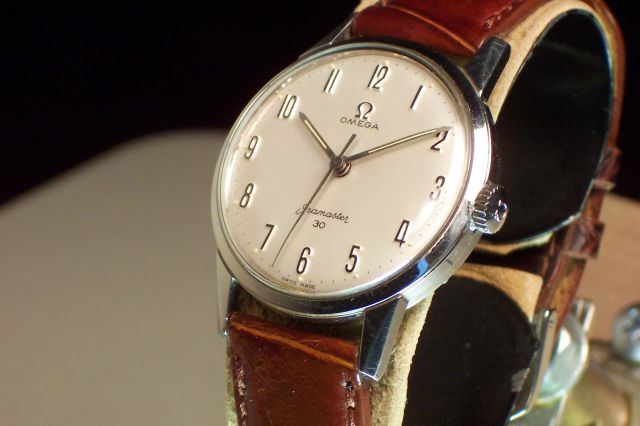
This time around I didn't want to mess up the factory stainless steel back of my 1963 Omega Seamaster 30 so I figured now was a good time to attempt the manufacture of a threaded display back from stainless bar stock.
I apologize for the quality of the photos but my garage isn't very well lit. Not knowing how I was going to grip the case back through all the machining operations, I decided the best method to machine the majority of the back was with the outside of the case back positioned to the right side of the lathe. Another point I'd like to make here is that the lathe I used for the entire machining operation was a generic Harbor Freight 10x7 variable speed model with a standard 3-jaw chuck that worked very well.
I started with 1-1/2 inch stainless steel bar stock and turned it down to 1.342, which was the outside diameter of the original case back. The major diameter of the original case threads was 1.232, so I rough machined the thread area maybe 5 or 6 thousandths larger than that so that I could bring the major diameter down during the cutting of the threads. The threads of the original case back were so miniscule that I had trouble measuring their pitch. I came up with .021 inches for the peak to peak dimension. Dividing the .021 into 1 inch gave me 47.6 threads per inch so I went with a 48-per-inch thread pitch and hoped it was close enough.
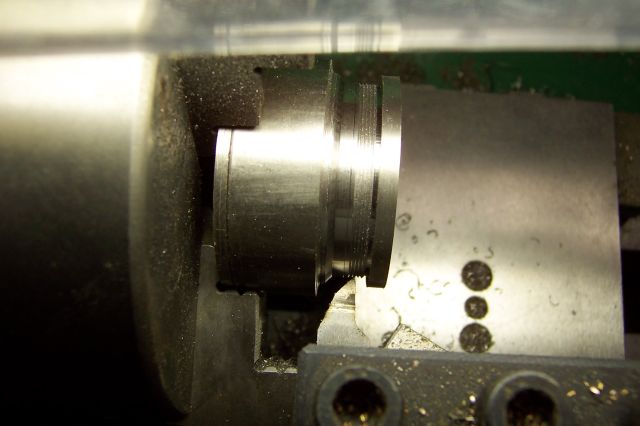
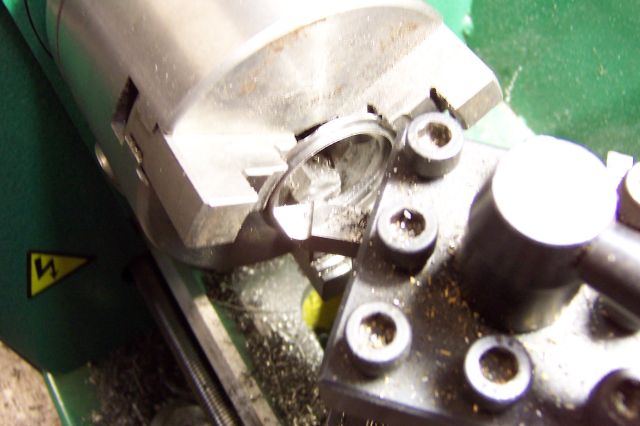
This first photo below shows the cut threads. The major diameter was still a little over 1.232 inches when I finished but I figured it was good enough (this minor detail would come back later to bring me grief). After the threads were cut, I used a .025-wide tool bit to cut a slight relief at the base of the threads.
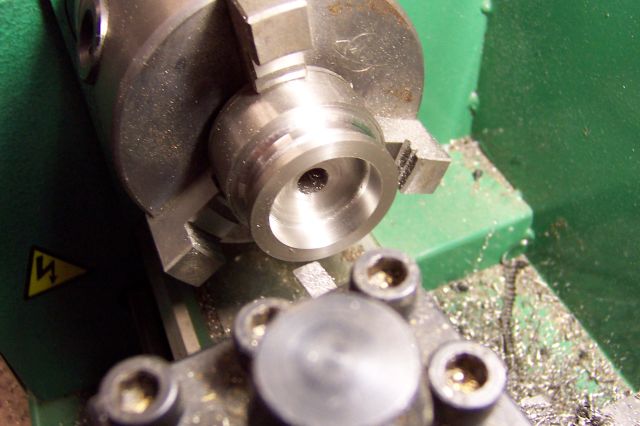
This next photo shows the inner bore being sized. The mineral glass crystal I chose for the display back was 1.079 inches in diameter (and .030 thick), so I cut the thru hole .060 smaller than that (1.019 inches) so there would be a .030 lip around the periphery of the glass to provide support. The glass counterbore was later cut to a depth of .020 inches.
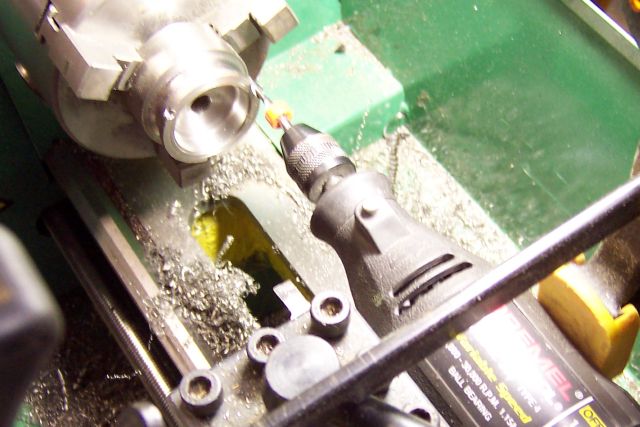
This next photo shows the notches being milled. I use that term lightly, since my milling attachment is a Dremel tool clamped to the lathe. I eyeballed the location of the three notches using the three jaws on the lathe chuck. The Dremel bearings are not as precise as I would have liked, so the notches came out just a little ratty but nobody but me will notice.
After cutting the notches, I machined the contour of the case back to give it a smooth and rounded edge, being careful not to completely remove the notches I just milled.
The next photo shows the case back after the cut-off operation. I chucked the piece so I could remove some material from the interior of the back, to allow a better view of the watch movement.
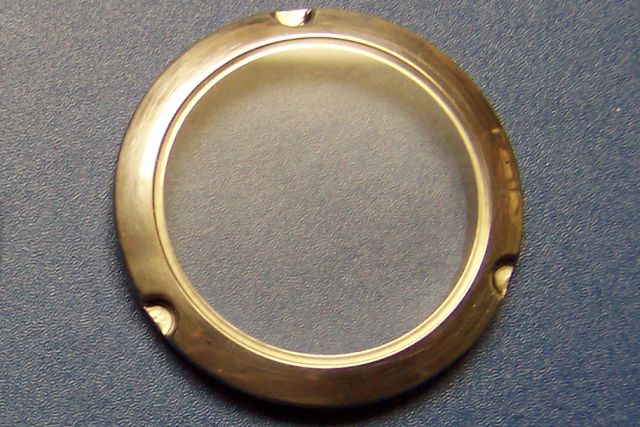
The next photo shows the case back in it's almost complete stage. The crystal is set in place but not glued in at this point.
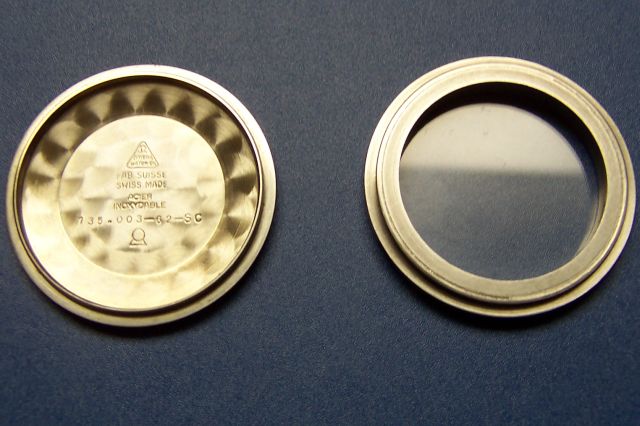
The next photo shows a comparision of the original back and the new back. I was excited to see if the new back would fit the Omega case. Imagine my disappointment when I could only get the thing to screw on a third of the way. As I mentioned earlier, the major diameter of the threads was a few thousandths larger than the original case back. Hmmm. Was this my demise? I figured my only option at this point was to re-chuck the case back and try to get the threads cut a bit deeper.
Using my 4-power goggles (which I used throughout quite a bit of the machining operations, by the way), I was able to get the threading tool lined up and coordinated with the lead screw of the lathe. I then cut the threads, spinning the lathe chuck by hand for this delicate operation, and got the major diameter down to 1.231 inches (1 thousandth smaller than the original case back - I didn't want to have to re-chuck the case back one more time). By God's grace, I was able to thread the case back all the way onto the watch case.
A little polishing on the buffing wheel (OK, quite a bit, and it still could use some) and I was ready to set the crystal in place. The case back and crystal were washed in hot soapy water and then cleaned with alcohol to remove any residue. I then mixed some Seiko two-part crystal epoxy (p/n S-310) to bond the mineral glass in place. A thin bead was put in place in the counterbore and the crystal was carefully set in place.
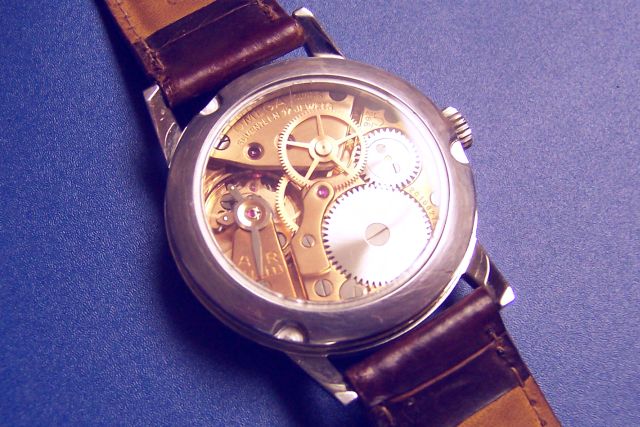
This final photo shows the case back mounted on the watch and displaying the beautiful Omega Caliber 286 movement.
The entire fabrication took 8 hours to accomplish. This included copious amounts of grinding on tool bits to get itsy bitsy cutter ends so I could machine 48 threads per inch in very, very small (did I say small?) areas. I also would have saved a good two hours if I had cut the threads to the correct dimension the first time around. It was a fun learning experience, and most important of all, I didn't make any catastrophic oops!